Last Updated on August 9, 2022 by Cristina
Knowing how to grow a pear tree from a cutting will help you produce several trees for your garden from a single-parent plant!
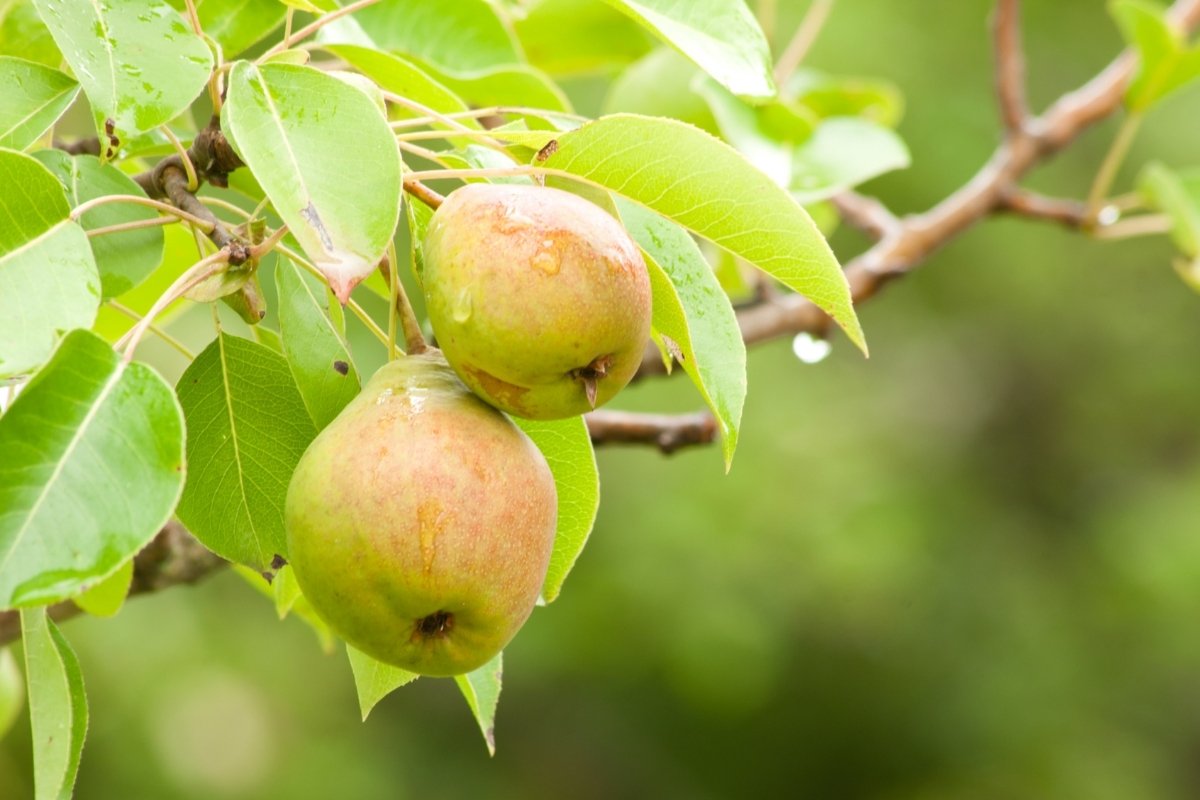
Pears are delicious, and having your own in your backyard can’t be anything but superb. In this article, I share how to grow pear trees from cuttings in seven easy steps.
The Best Season For Growing Pear Trees
Pears grow best during the winter and early spring. In areas that have warmer climates with mild winters, pear trees can be planted at any time. Pear trees prefer cooler weather, so you can even plant them when they’re dormant during the fall!
Planting pear trees when they’re dormant puts less stress on them. This will encourage growth when they start their growing cycle. Remember to plant pear trees in a location that’s optimal for them.
Click Here to Get Info About:
How To Grow A Pear Tree From A Cutting: Step By Step
It isn’t impossible to grow pear trees from a cutting, but rootstock grafting is preferred for pear tree propagations. You should always start more than one cutting to ensure you end up with a live one.
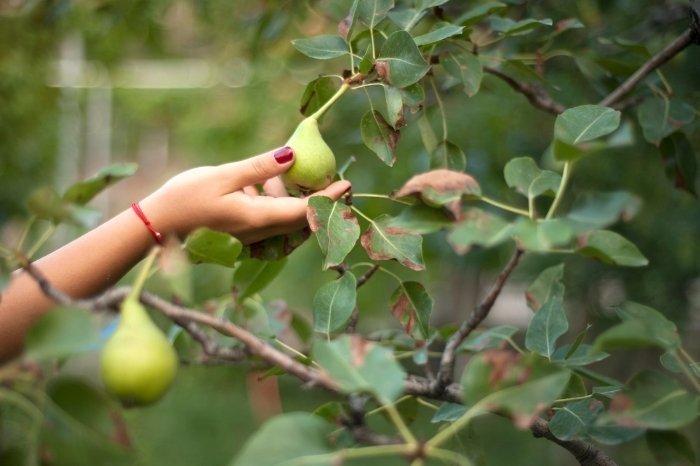
Step 1: Ensure Your Cutting Is From A Healthy Tree
You should select a green (new wood) stem that’s about ¼ to ½ inch thick and have plenty of growth nodes. If cutting from a dwarf tree, take 4 – 8 inches and approximately 10 – 15 from larger trees. Make the cut about ¼ inch below the leaf node at a 45-degree angle.
Step 2: Mixture
Mix equal parts perlite, vermiculite, and water. Allow excess moisture to drain, and add the mixture to a planter. The mixture should only be damp and not soupy. This will prevent your cuttings from rotting.
Step 3: Prepare – How To Grow A Pear Tree From A Cutting
Remove the bark from the bottom one-third of your cutting. Place the cutting in water for five minutes. Dip the cutting into growth hormone and tap off any excess.
Step 4: Make A Hole In The Planter For Your Cutting
Place the cutting gently into the hole and ensure the soil is firm around it. If you’re planting more than one cutting, allow ample space between them.
Step 5: Cover Your Cuttings
Make a mini greenhouse by covering your cuttings with a clear plastic bag. Place the planter in an area with a constant temperature. Ensure that there are no drafts and keep out of direct sunlight.
Step 6: Water Your Cuttings
Water your cuttings frequently, keeping the soil moist but not wet. You can move the planter to an outside spot after about a month. Ensure that the cuttings are in a protected area.
Observation
After three months, your trees should be big enough to transplant into the garden. At this age, they should be able to handle any elements. Ensure that you only plant your young pear tree into the soil if it is during its dormant cycle.
5 Things To Keep In Mind When Growing Fruit Trees
-
Research, Research, Research!
I can’t stress how important it is to do research before growing your first pear tree from a cutting. Several pear trees usually thrive in your area, and you should choose one that suits your location best. Always consider the climate, soil type, space, and sun exposure. Remember to consider cross-pollinating or self-pollinating. If your tree needs cross-pollination, you won’t ever have fruit, only flowers. If you have limited space, instead consider a self-pollinating tree.
-
Give Your Young Trees More Love
The most critical time in a pear tree’s life is when you first plant it in your garden. The young tree needs proper care until it’s fully established. Keep your pear tree watered and protected from pests and inclement weather to ensure it has the best possible start to life.
Farmer’s Secret – Fruit & Bloom Booster – Strengthen Roots and Increase Yield

-
Prune Your Trees – How To Grow A Pear Tree From A Cutting
Ensure you have the proper pruning technique. This will help you have a happy and productive pear tree. Pruning gives the leaves better access to light, helps grow juicier fruit, and keeps messy growth under control. Find out exactly how and when to prune your tree, as each species is different.
-
Fertilize And Mulch
Mulching and feeding fruit trees keep them healthy. Trees should be mulched after planting and every fall and spring after that. Use a high-quality fertilizer throughout the growing season to ensure a strong and healthy pear tree!
-
Keep An Eye Out For Issues
Pear trees can be susceptible to many pests and other problems. Prevent disease and pests by treating them as soon as possible. If you feel stuck, ask for expert help to keep your pear trees as healthy as possible.
Summary – How To Grow A Pear Tree From A Cutting
Pear trees should preferably be grown by rootstock grafting, but if you properly care for your cutting, you can make it a success.
If you follow the steps in this article, your cuttings will thrive!
I hope you liked this article. Any questions can be asked in the comments and if you have more advice about growing pear trees from cuttings, pop them there too!
FAQ’s
Can you start a pear tree from a cutting?
It's possible to start a pear tree from a cutting, although root crafting is preferred. If you take proper care of your cutting, it will be a success!
Can you start fruit trees from cuttings?
The best fruit trees to start from cuttings include blueberries, figs, elderberries, and mulberries.
While others can also be started from cuttings, these are the easiest.
Do you need 2 pear trees to produce fruit?
You'll need at least two pear tree varieties for cross-pollination. This will ensure your trees produce fruits.
Remember to ensure that the two variants are compatible!
How do you grow a cutting from a root?
Root cuttings should be taken during the dormant season. Cut straight on the end nearest to the crown of the parent plant and make another cut to the end furthest from it. Tie the cuttings together with similar end types aligning.
Store your bundles in moist peat moss, sand, or sawdust (with a temperature of 40°F) for at least 3 weeks.