Last Updated on April 10, 2022 by Griselda M.
In this article, we will learn how to grow a redbud tree from a branch and the perfect growing conditions to provide.
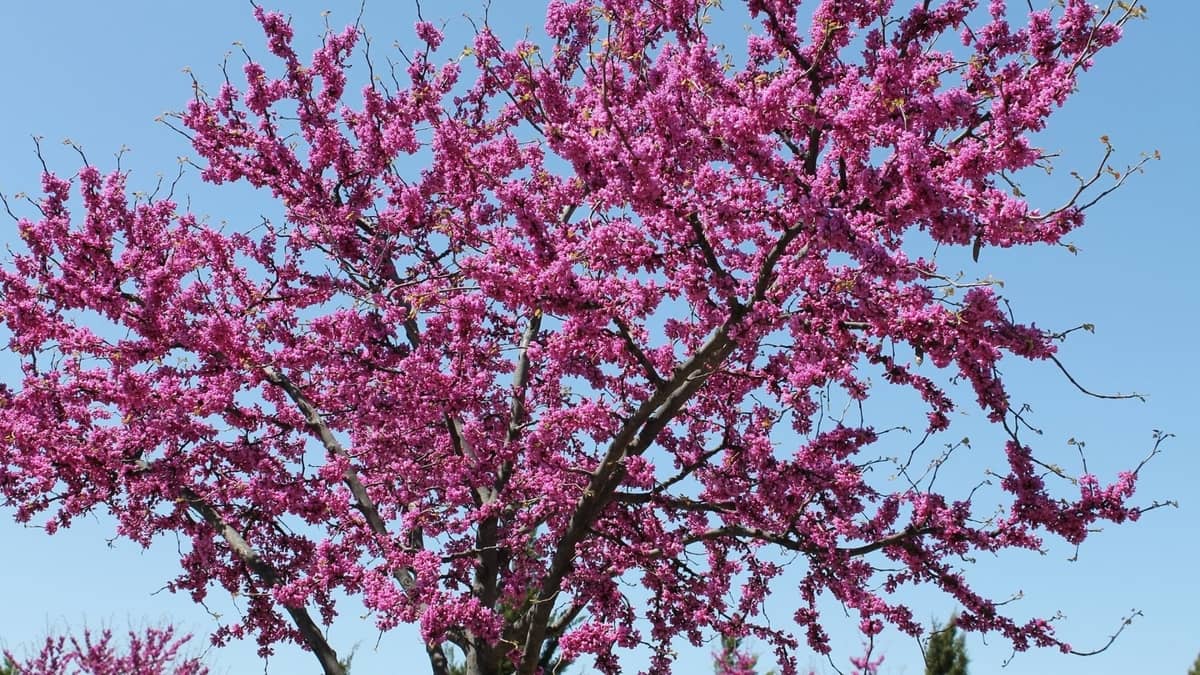
Redbud trees are one of the most popular types of trees in North America. They are easy to grow and have many interesting characteristics. If you are looking to plant a redbud tree in your yard or garden, there are many ways to get a tree.
The easiest way is to purchase a pre-planted tree. These trees come in all sizes and varieties and include instructions on how to care for them. However, in this article, we will look at how to grow a redbud tree from a branch right in the comfort of your own home.
How To Grow A Redbud Tree From A Branch?
The other option is to grow a redbud tree from a branch. This is an easy process and is much less expensive than purchasing a tree. All you need is a good redbud branch and a small container to grow your tree in.
You can either choose a standard pot or grow a redbud tree in a planter box. Either way will work just fine, as long as you have enough space in your yard to plant it.
Before you start growing a redbud tree from a branch, you should know the basics about the plant.
- It is a deciduous tree, which means that it sheds its leaves every year.
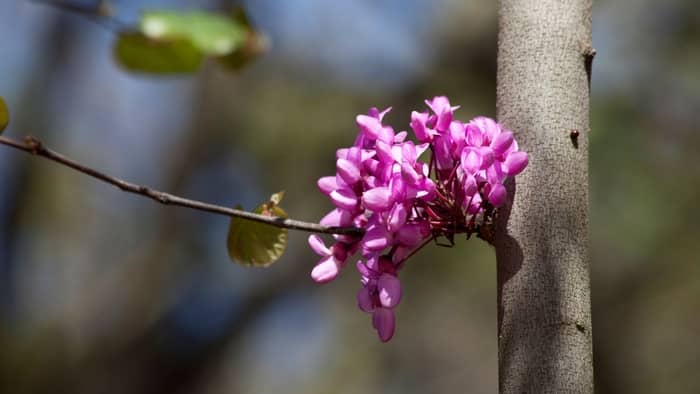
- The branches of a redbud tree are flexible and will grow in any direction. They are usually green, although they can also be pink, purple, or yellow.
- The leaves are oval-shaped and have sharp edges. They are dark green and usually fall off in the fall.
- The flowers are yellow and grow on new shoots that appear in the spring.
Growing a redbud tree from a branch is a fun and easy process. You can grow them in a planter box or even a standard pot. Both options are equally good.
Step-by-step guide on how to grow a redbud tree from a branch
Step 1: Choose the right branch
First, you must choose the right branch. A redbud will only grow out of a branch that is already growing, and this is determined by the structure of the branch. The best branches to use are those that have two distinct parts: one that has already started growing out, and a second part that is still in bud.
Step 2: Cut the branch
You can do this with a pair of pruners. Start by cutting the base of the branch that is opposite the growing point. Make sure that the cut is just under the outer layer of bark.
Step 3: Remove the bark
Now that you have cut, it is important to remove all of the bark. This is done with a knife or a utility knife. Do not use your fingers, as this will damage the bark and create an opening for bacteria and disease.
Step 4: Check the cut
After you have removed all of the bark, you will want to check the cut. If the cut is clean and free of any debris, then you can proceed with the next step. Otherwise, you will want to cut the branch off at a different location, and then proceed to clean and remove the bark from the new cut.
Step 5: Cut if the former one is not good
Next, you will want to cut the branch that has not yet started growing out. Use a knife to cut at a 45-degree angle. Do not cut directly down, or you will cut into the bark and create an opening for disease and bacteria.
Step 6: Clean and remove the bark
After you have cut, it is important to clean up any debris from the cut. You will want to use water to clean the area, and then dry it out. Once the area is dry, you will want to remove any remaining debris.
Step 7: Plant the cutting
This can be done by planting the cutting into a pot or in the ground. Make sure that the soil in the pot is moist. Then place the plant in the pot or in the ground. Provide it with rooting powder to help it develop roots fast.
Step 8: Water the plant regularly
Make sure that you water the plant at least once or twice every week. You will want to check to see if the plant needs watering before giving it water. If the plant is looking brown, then you know that it needs water. You don’t have to wait for it to attain the brown color.
Step 9: Feed your plant
The plant will need to be fed with fertilizer or compost when it starts to grow.
In Summary
How to grow a redbud tree from a branch will work well if you choose the right cutting that is mature and has a bud to germinate from.
It is best to cut when the leaves are turning yellow during late winter or spring. The tree will grow well in full sun with adequate moisture. Pruning is not required to grow a healthy tree. You should remove any dead branches that have become diseased.
Read more about How To Grow A Coconut Tree Indoors?
Frequently Asked Questions
How do you germinate a redbud tree?
For seed propagation, we recommend using a mix of 50% redbud seed and 50% redbud seedling mix. For root propagation, you can use an ordinary potting mix or soil mix. The mix should be watered well after planting and the container should be kept in a sunny spot.
Can I grow a redbud tree from a cutting?
Yes, we recommend that you plant a cutting into a medium-sized pot or seed tray. The seedling should be placed in a sunny spot with good ventilation. The tree can also be planted directly into the ground in spring or fall, but it will take longer to establish.
Are redbud trees easy to grow?
Yes, they are very easy to grow. They have long roots and are drought-tolerant, which makes them a great choice for new gardeners. Redbuds can even be grown in containers and pots.
Do redbuds need full sun?
No. They do well in partial shade or even dappled shade.